

一、安装nginx
创建 nginx.repo 文件
vi /etc/yum.repos.d/nginx.repo
敲击 i进入编辑模式,输入以下内容

[nginx]
name = nginx repo
baseurl = https://nginx.org/packages/mainline/centos/7/$basearch/
gpgcheck = 0
enabled = 1

按ESC  输入:wq保存并退出。
安装配置nginx
yum install -y nginx

进入 conf.d文件夹修改配置文件
cd /etc/nginx/conf.d

备份默认文件
cp default.conf default.bak

编辑配置文件
vi default.conf
配置文件详解
server {                         #服务器请求
listen       80;
 root   /usr/share/nginx/html;       #根目录
 server_name  www.123.com;            #域名
 #charset koi8-r;
 #access_log  /var/log/nginx/log/host.access.log  main;
 #
 location / {                         #默认页面
       index index.php index.html index.htm;
 }
 #error_page  404              /404.html;
 #redirect server error pages to the static page /50x.html
 #
 error_page   500 502 503 504 /50x.html;
 location = /50x.html {                  #错误页面
   root   /usr/share/nginx/html;
 }
 #pass the PHP scripts to FastCGI server listening on 127.0.0.1:9000
 #
 location ~ .php$ {                    #匹配以.php结尾的访问请求
   fastcgi_pass   127.0.0.1:9000;      #传递给PHP-FPM处理
   fastcgi_index  index.php;
   fastcgi_param  SCRIPT_FILENAME  $document_root$fastcgi_script_name;
   include        fastcgi_params;
 }
}
启动并验证
systemctl start nginx      #启动nginx
systemctl enable nginx     #设置开机启动

防火墙开放端口
firewall-cmd --zone=public --add-port=80/tcp --permanent
重载防火墙设置
firewall-cmd --reload

http://你的域名       #验证能否登录

二、安装MariaDB
安装mariadb
查看系统是否已经安装过MariaDB
rpm -qa | grep -i mariadb

如果有需先移除
rpm -e 包名

yum安装
yum install mariadb -y

启动MariaDB
systemctl start mariadb
systemctl enable mariadb
使用Mysql需先初始化密码
三、安装PHP
更新yum源
rpm -Uvh https://mirrors.cloud.tencent.com/epel/epel-release-latest-7.noarch.rpm
rpm -Uvh https://mirror.webtatic.com/yum/el7/webtatic-release.rpm
执行下面的命令安装所需的包
yum -y install mod_php72w.x86_64 php72w-cli.x86_64 php72w-common.x86_64 php72w-mysqlnd php72w-fpm.x86_64 启动php-fpm
systemctl start php-fpm
systemctl enable php-fpm
创建测试文件
echo "<?php phpinfo(); ?>" >> /usr/share/nginx/html/index.php 访问服务器,如果出现如下界面表示安装完成!
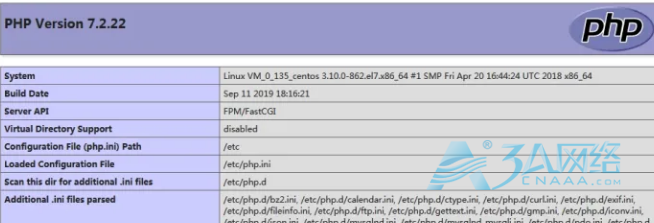
这样Lnmp环境就快速搭建完成了!!!
文章来源:https://www.cnaaa.net,转载请注明出处:https://www.cnaaa.net/archives/6082